 220 min
Bakery-Style Cinnamon Rolls with Vanilla Cream Cheese Frosting
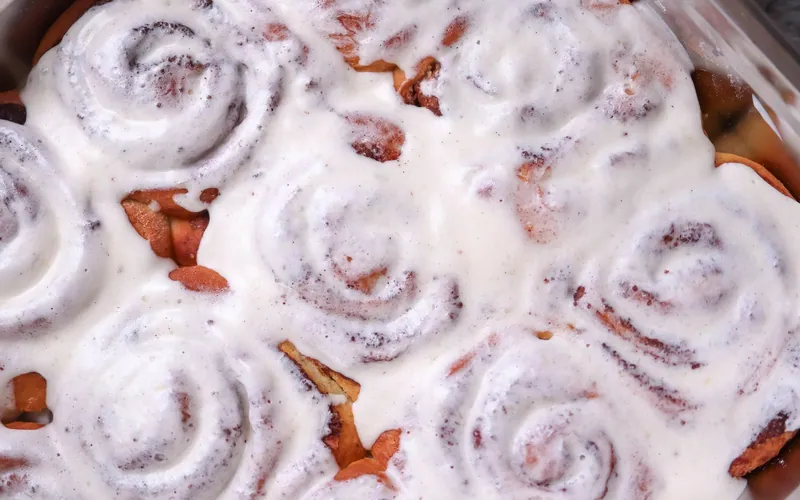
A tangzhong-enriched dough bakes into tall, pillowy cinnamon spirals under a generous blanket of tangy vanilla cream cheese frosting.
Dessert
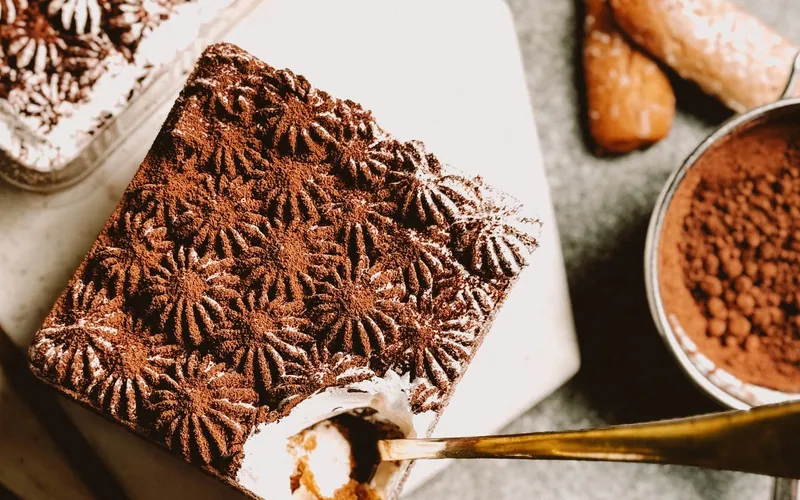
Coffee-dipped ladyfingers and a cooked-yolk mascarpone cream settle into neat individual cups under piped cocoa rosettes for an elegant, make-ahead Italian dessert.
Pour the espresso into a shallow bowl and cool it completely so it does not melt the cream. Stir in the coffee liqueur, if using. Set six 8-ounce dessert cups or small square dishes on a tray.
Bring 1 inch of water to a bare simmer in a saucepan. In a heatproof bowl that sits above—not in—the water, whisk yolks, sugar, water and salt. Whisk constantly over the steam for 6 to 8 minutes, until pale, ribbon-thick and 160°F throughout. Remove from the heat and whisk for 2 minutes to begin cooling.
In a separate bowl, stir the mascarpone and vanilla just until smooth. Fold one-third of the warm yolk mixture into the mascarpone, then fold in the remainder. Let the mixture cool to room temperature, about 10 minutes; it should no longer feel warm before the whipped cream is added.
Whip 1 1/4 cups heavy cream to medium peaks. Fold it into the mascarpone base in three additions. Transfer 1 cup of the finished cream to a piping bag fitted with a large star tip for the tops and refrigerate it while assembling.
Break ladyfingers to fit the cups. Dip each piece in the cool espresso for about 1 second per side; the center should remain slightly dry. Arrange a snug single layer in each cup, using about 2 ladyfingers per layer.
Divide half the remaining mascarpone cream over the first ladyfinger layers and sift over 1 tablespoon cocoa. Repeat with the remaining ladyfingers and cream. Smooth the surfaces, then pipe compact rosettes from the reserved cream across each cup.
Cover the cups without touching the rosettes and refrigerate for at least 6 hours or overnight. This rest hydrates the ladyfingers and firms the mascarpone layers. Keep refrigerated until serving.
Whip the remaining 1/4 cup cream to soft peaks and use it to refresh any flattened rosettes if needed. Sift the remaining 2 tablespoons cocoa evenly over the cold cups and finish with grated dark chocolate, if using.
Useful kitchen gear
Compare the function and specifications first; skip anything your kitchen already handles well.
Keep the cups covered and refrigerated at 40°F or below for up to 3 days. Return them to the refrigerator within 2 hours of serving. The texture is best on days 1 and 2; freezing is not recommended because mascarpone cream can become grainy after thawing.
The yolk base or mascarpone may have been too warm when the whipped cream was folded in, or the cream was underwhipped. Cool the base fully, whip to clear medium peaks and fold gently. The six-hour chill then finishes the set.
Yes. Assemble and chill them up to 48 hours ahead, but wait to add the final cocoa dusting until serving so the surface stays dry and velvety rather than blotchy.
Cool the espresso completely and dip each piece for only about 1 second per side. Ladyfingers continue absorbing liquid during the long chill, so they should not be soaked through during assembly.
Cook next
220 min
A tangzhong-enriched dough bakes into tall, pillowy cinnamon spirals under a generous blanket of tangy vanilla cream cheese frosting.
 215 min
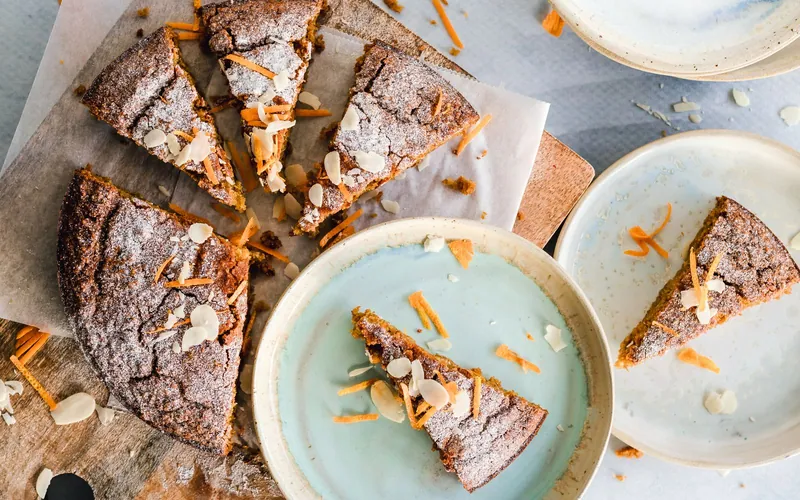
Whole simmered oranges and almond flour bake into an exceptionally moist, naturally gluten-free cake finished with orange syrup, almonds and powdered sugar.
 420 min
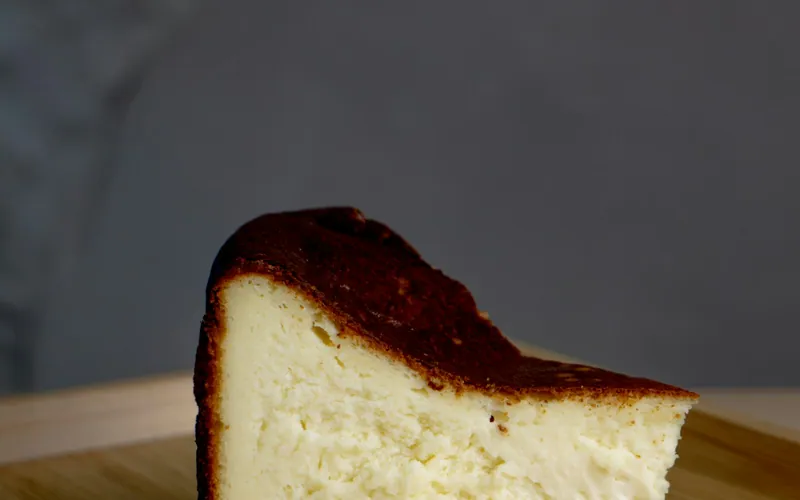
A deeply bronzed, parchment-crinkled top gives way to a custardy vanilla-lemon center—dramatic enough for company and deliberately free of a fussy crust.
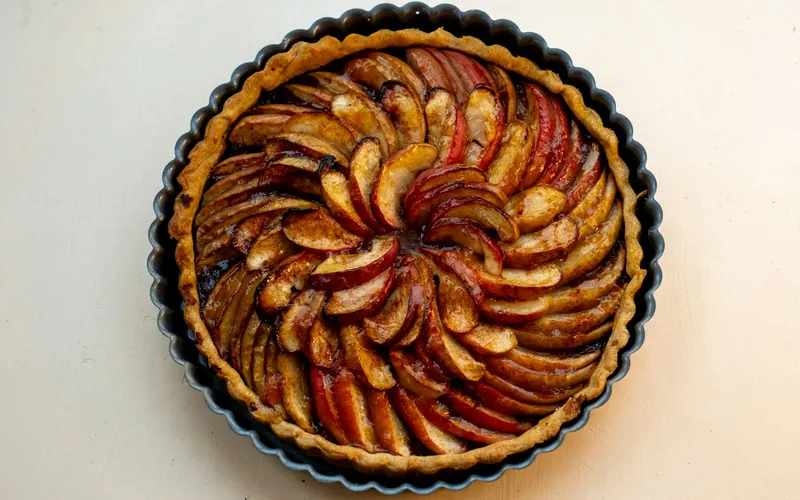 150 min
Thin red-skinned apples spiral over a crisp, tender shortcrust, then emerge bronzed and glossy beneath a warm apricot glaze—a bakery-worthy tart with precise make-ahead timing.