 30 min
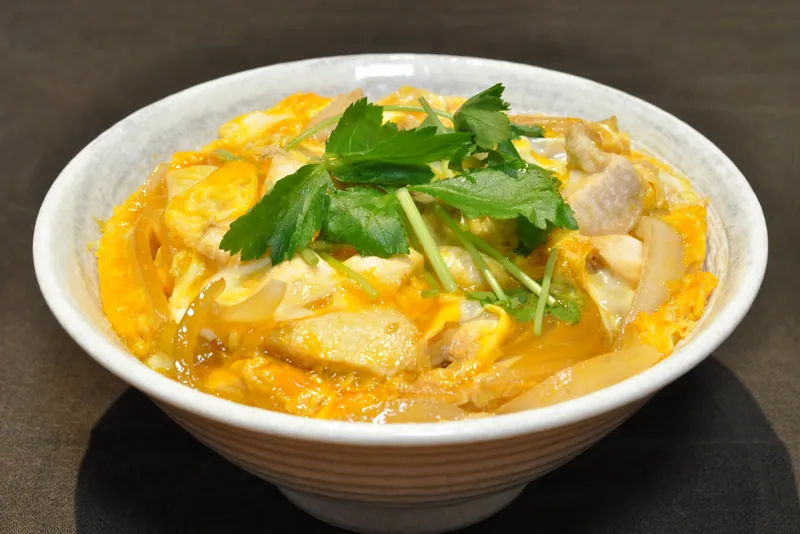
Japanese Oyakodon with Chicken, Egg & Steamed Rice
Tender chicken and onion simmer in a savory-sweet dashi sauce, then softly set eggs blanket hot rice for a complete 30-minute bowl.
30-Minute Dinners
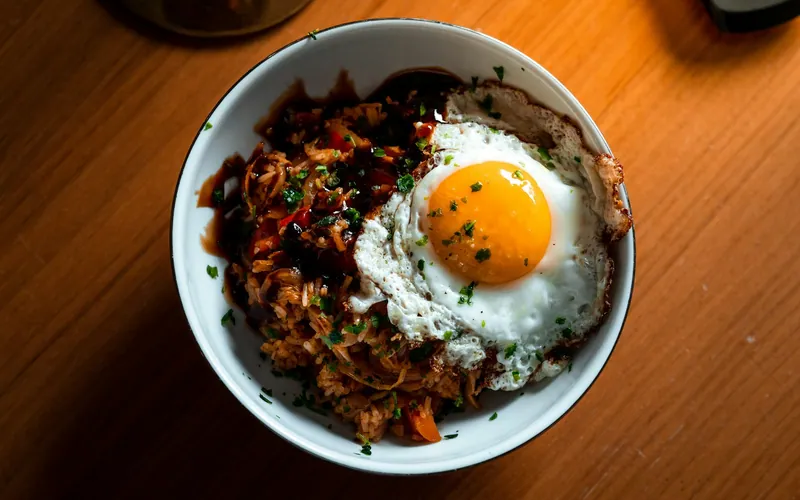
Cold rice, well-fermented kimchi and gochujang fry into a smoky-spicy skillet meal finished with sesame oil, scallions and crisp-edged eggs.
Use damp fingers to separate the chilled rice into loose grains before heating the skillet. Cold, dry rice fries instead of collapsing into a sticky mass. Keep it refrigerated until the pan is ready.
Whisk the kimchi brine, gochujang, soy sauce, 2 teaspoons mushroom oyster sauce and sugar in a small bowl until smooth. Taste the kimchi first; if it is especially salty, reduce the soy sauce to 2 teaspoons.
Heat a wide 12-inch skillet over medium-high until hot. Add 1 tablespoon neutral oil, the onion and scallion whites, and cook for 2 minutes. Add the kimchi and cook for 3 to 4 minutes, stirring only occasionally, until its edges darken and most visible moisture evaporates.
Add the garlic and stir for 20 seconds. Add the cold rice and remaining seasoning mixture, spread everything across the skillet and leave it undisturbed for 90 seconds. Toss, spread again and cook for another 3 to 4 minutes until hot with scattered crisp grains.
Fold in the peas and half the scallion greens and cook for 1 to 2 minutes, until the peas are hot and the rice reaches 165°F. Remove from the heat, drizzle with sesame oil and transfer to four warm bowls.
Wipe the skillet clean enough to remove loose rice, return it to medium-high heat and add the remaining 2 tablespoons neutral oil. Crack in the eggs, season with salt and fry for 2 to 3 minutes until the whites are set and the edges are browned and lacy.
For a runny yolk, serve promptly once the white is fully set. For children, older adults, pregnant people or anyone with a weakened immune system, use pasteurized eggs or continue cooking until both white and yolk reach 160°F.
Stir the reserved teaspoon mushroom oyster sauce with 1 teaspoon warm water. Top each bowl of hot kimchi fried rice with one egg, drizzle lightly with the thinned sauce, and scatter over the remaining scallion greens, sesame seeds and nori strips if using. Serve immediately while the rice is hot and the egg edges are still crisp.
Useful kitchen gear
Compare the function and specifications first; skip anything your kitchen already handles well.
Rice should be cooled promptly after its first cooking and refrigerated within 2 hours in a shallow container. Refrigerate leftover kimchi fried rice without the eggs for up to 4 days. Reheat once in a hot skillet with 1 tablespoon water until every portion reaches 165°F; fry fresh eggs for serving. Do not leave cooked rice at room temperature for more than 2 hours.
Yes, but spread the hot rice on a rimmed sheet pan and refrigerate it uncovered for 30 to 45 minutes until cold and dry on the surface. Never leave it cooling at room temperature for an extended period.
Warm rice, wet kimchi or an overcrowded pan usually causes clumping. Use thoroughly chilled rice, drain the kimchi, preheat a wide skillet and let each layer sit undisturbed long enough to fry.
With 1 tablespoon gochujang it is moderately spicy, though kimchi heat varies. Use 2 teaspoons gochujang for a gentler version or add another teaspoon at the table for more heat.
Cook next
30 min
Tender chicken and onion simmer in a savory-sweet dashi sauce, then softly set eggs blanket hot rice for a complete 30-minute bowl.
 33 min
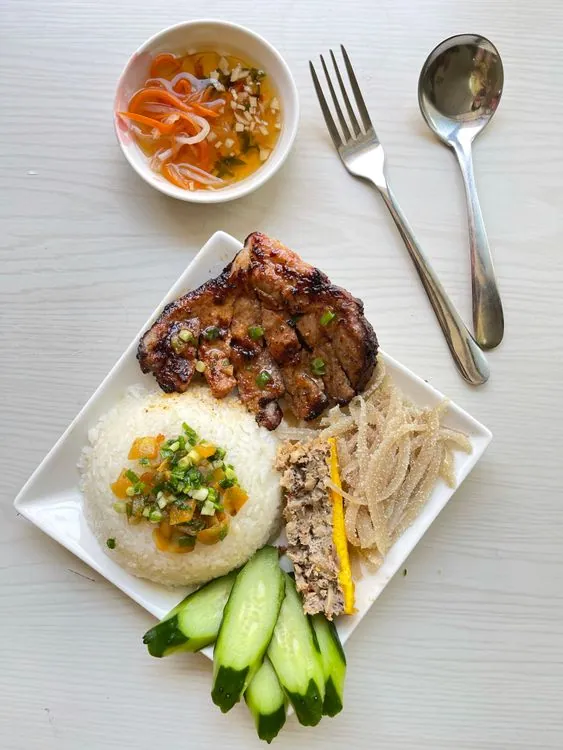
Juicy glazed pork chops, warm rice, and a cold sesame cabbage slaw—sweet, spicy, crunchy, and weeknight-fast.
 35 min
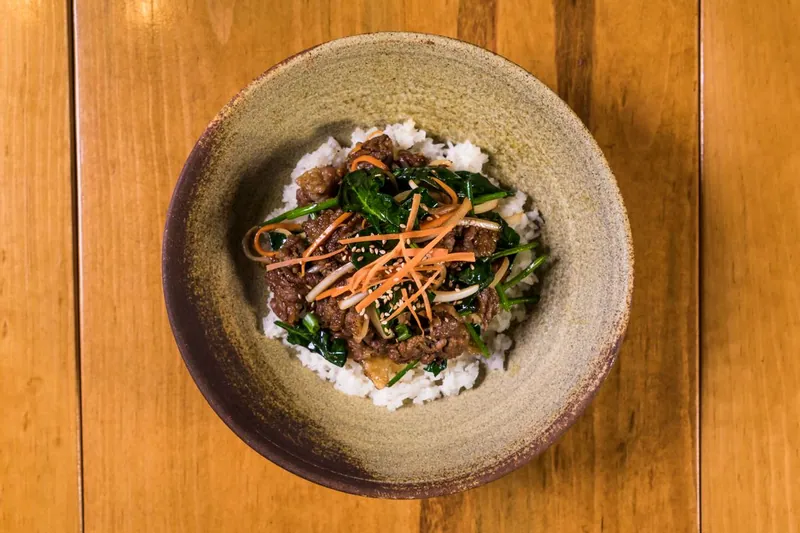
Quick-marinated bulgogi-style ribeye over rice with sesame carrots, crisp cucumbers, and spicy mayo.
 28 min
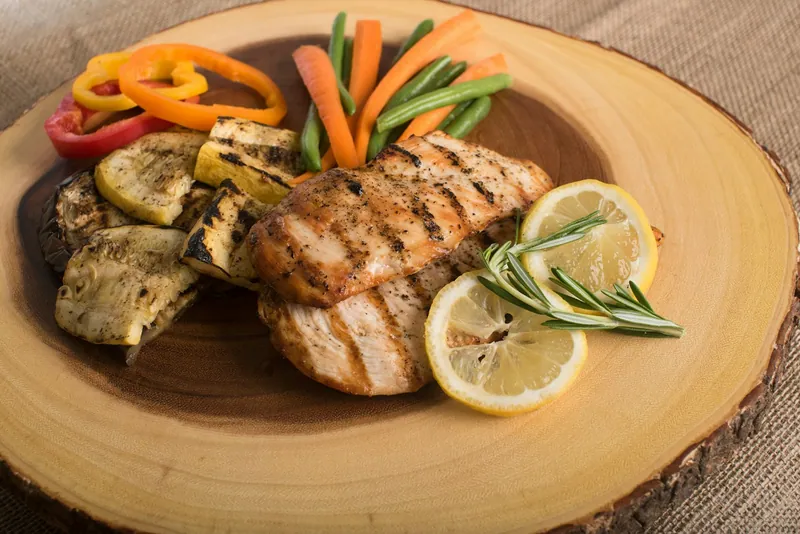
Golden chicken cutlets and snappy green beans in a bright pan sauce that tastes far fancier than its 30-minute timeline.